Connecting the dots between intraoral scanning and 3D printing
3D printing technology has completely taken the dental industry by storm. From printing surgical guides to producing night guards, crowns, clear aligners, hybrid dentures, and smile design, 3D printing’s applications are rapidly expanding.
And while 3D printing is still a relatively new technology, if its trajectory continues, it could quickly become the disruptor that Airbnb has become for the hotel sector or Uber for the taxi industry.
So why has the 3D printer become such a game-changer in the dental industry?
And how can you benefit from incorporating this technology into your practice?
The simplest answer is this ─ control.
Control over timing: You can’t control the mail and you can’t control your lab’s turnaround time. But you can control how quickly you’re able to take a digital file and turn it into a 3D appliance (some doctors are doing it in under an hour).¹
Control over fees: When you produce in-house, you are free to set the fees that you feel are fair for your patient and your business.
Control over patient experience: Without timing and overhead restrictions, you’re able to customize the whole experience around what’s best for your patient. This includes same-day turnarounds, reduction in office visits and the ability to replace lost or broken appliances quickly and affordably (something every patient appreciates!)
Basic tools you’ll need to start 3D printing:
- An intraoral scanner
- Design/model builder software
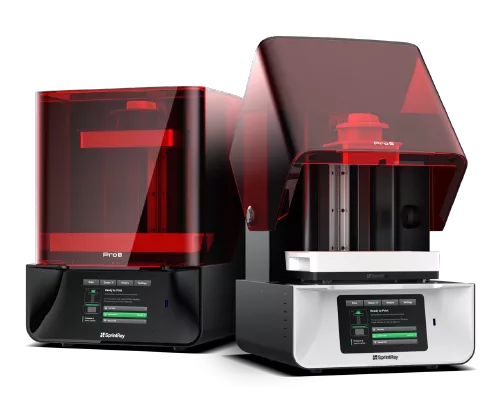
- 3D printer
- Print resins
- Nesting
- Post print process

Step 1: Take an intraoral scan
With an intraoral scan you’re essentially collecting analog oral information and converting it into a digital file that can be used by your design software.
This means your scanned data is your blueprint for every part of the process going forward ─ so the cleaner your scan, the more accurate your model will turn out.
A good scanner/software combo will really drive the success of the data.
For example, the DEXIS™ 3800W is light and fast and you’ll see that as you’re scanning, IS ScanFlow will eliminate excess debris and fill holes giving you an easy way to get a clean, sharp scan.
With the right technique and scanning equipment, getting a great scan can be extremely quick and painless.
Step 2: Build your model
Aka: take a 3D image and turn it into a printable file.
At this stage you have one of two options: You can use a design service to build your model or you can build it yourself.
If you’re using a service like SprintRay™, you can send your intraoral scan to SprintRay Cloud Design Services and they’ll turn it around and send you a printable file.
Or you can choose to design your own model with design software like SprintRay’sRayware software.
You’ll import your scan data and the software will turn it into a model that you can edit. You’ll decide how much data you need, trim around the teeth, trim the base, add connections to articulators etc.
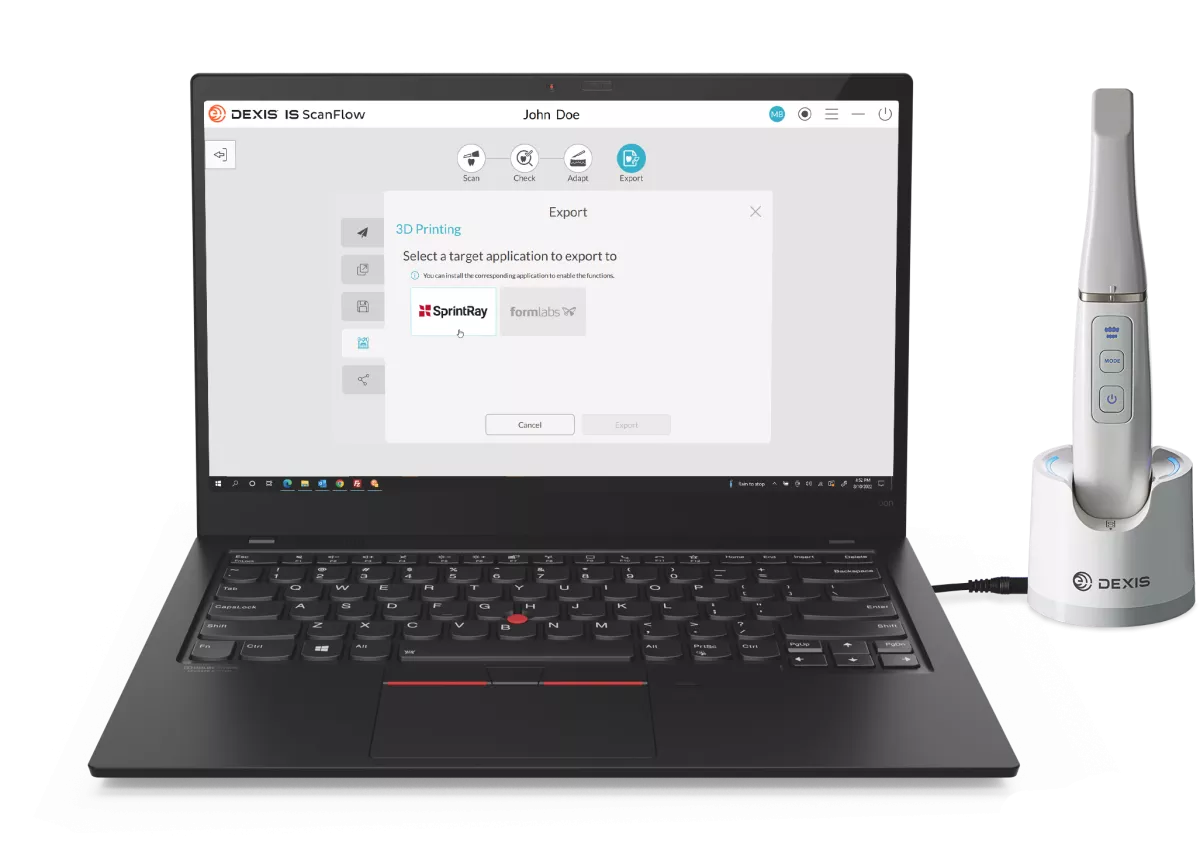
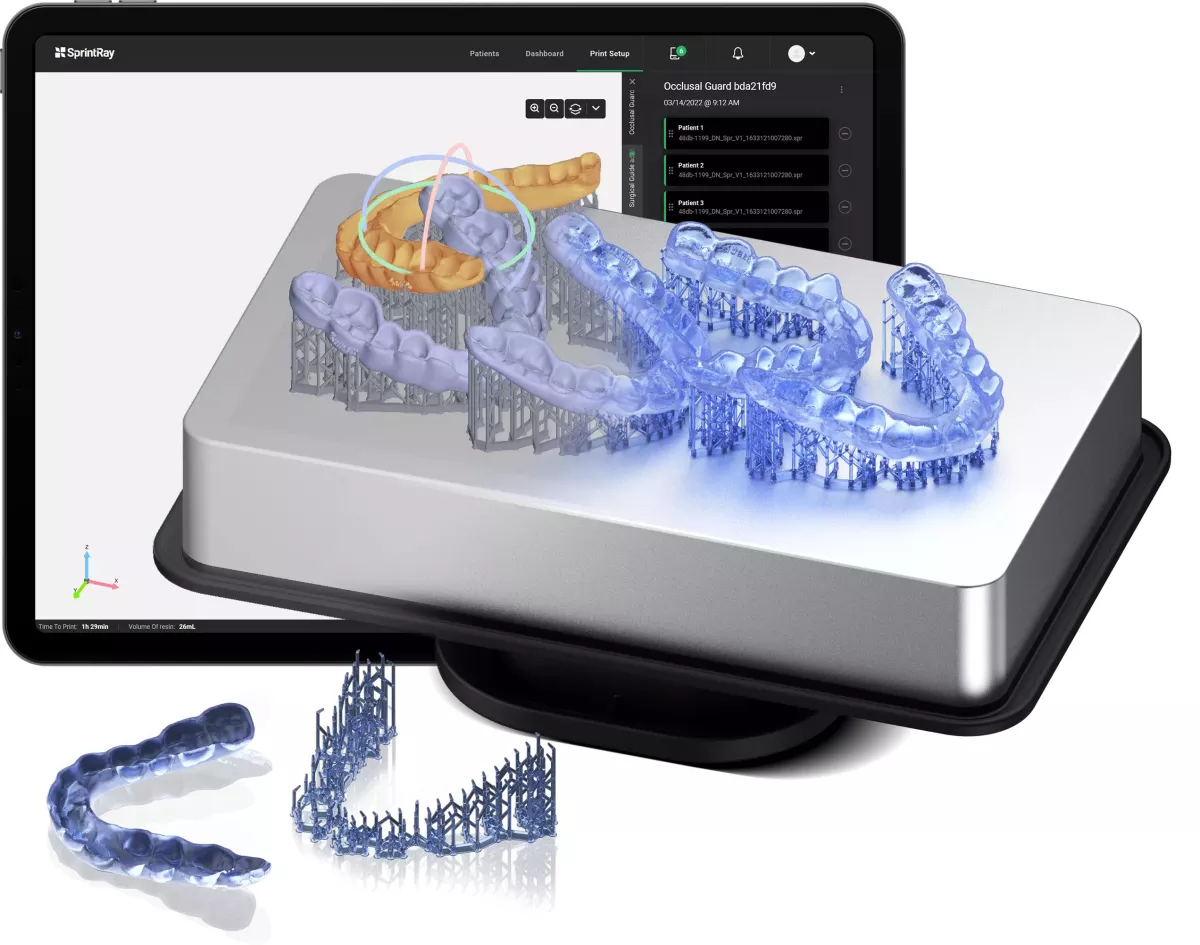
Courtesy of SprintRay
Step 3: Nesting your model
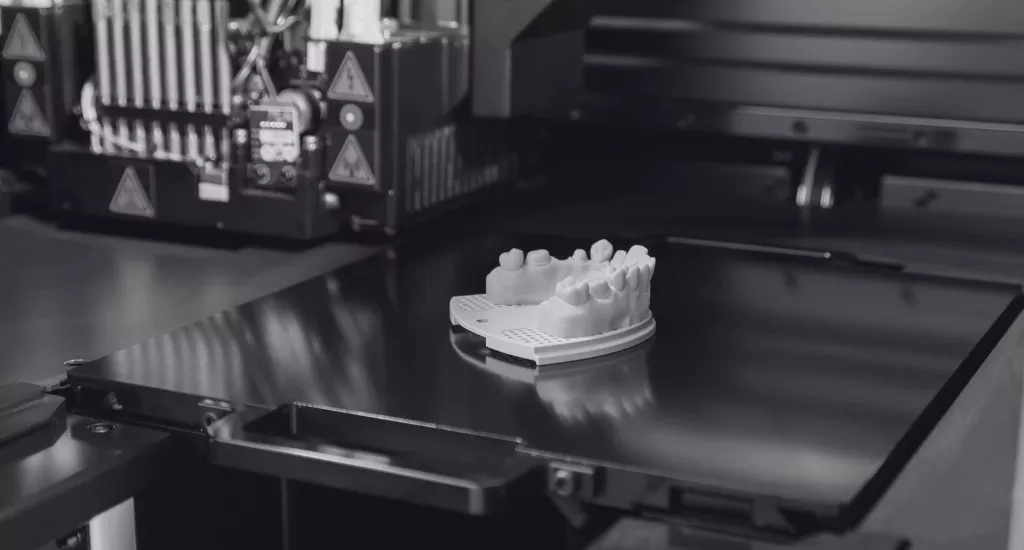
At this point, you’ll work within your 3D printer’s software to determine how your object will be printed on your platform.
You’ll need to consider your layer thickness, types and sizes of supports you’ll need and the angle at which your object(s) will be printed.
Your printing software and your resin’s material files will help you make all these decisions before setting up your print.
Think of your object’s layers in this way: 3D models are printed in ‘steps’ (or layers) that build upon each other until your model is complete ─ much like how single cards can be stacked to form a deck of cards.
With 3D printed objects, the smaller your micron count, the more accurate and crisper your margins and detail will be. Some objects need that level of detail while others don’t.
SprintRay, for instance, encourages a 50 micron accuracy for cases like crowns, temporaries, die models and any other prints that rely heavily on accuracy ─ while models that need to be extremely smooth can be printed at a lower layer of thickness to reduce the post-processing required to achieve the desired surface finish¹.
Time to print!
Your model is ready. It’s time to pour your resin into your printer’s resin tray and secure the tray to the printer (the type of resin you’ll choose is dictated by the type of appliance you’ll be printing.)
Hit print!
Once your print is complete, you’ll remove your tray, wipe away excess resin and remove your prints from your build platform (all while wearing gloves and practicing the prescribed safety precautions.)
Now drop your print into your printer’s wash cycle then into its post-cure unit for final curing!
Voilà! You have a fully printed dental appliance!
If your patient’s still in the chair, go ahead and make that delivery!
And if you’re not quite there yet… schedule your delivery around a timeline that makes sense for both of you. And settle on a fee structure that’s sensible not only for your patient but for your business.
The control a process like this gives you is fantastic for your patient which (for so many reasons) makes it fantastic for you.
For more information on how to start incorporating intraoral scanning and 3D printing into your practice, contact us for a free consultation.
